Robotics Project (Journal Entry 11)

This project was actually one of the hardest i’ve done. Setting up the raspbian operating system was very easy because we did most of the work in class. I really didn’t want to fit into the “So if you are able to successfully get an operating system on the pi and run a few commands? Nice. Take some pictures. Write about how hard/easy it was. You get a B.” category so i tried to do something more than what was asked. I came up with the idea of using the pi as a firestick for my tv. Of course it wasn’t exactly like the fire stick but I found this video on youtube and it didn’t look too hard to do and it seemed very useful.

video :https://www.youtube.com/watch?v=5JFXGf5usjw

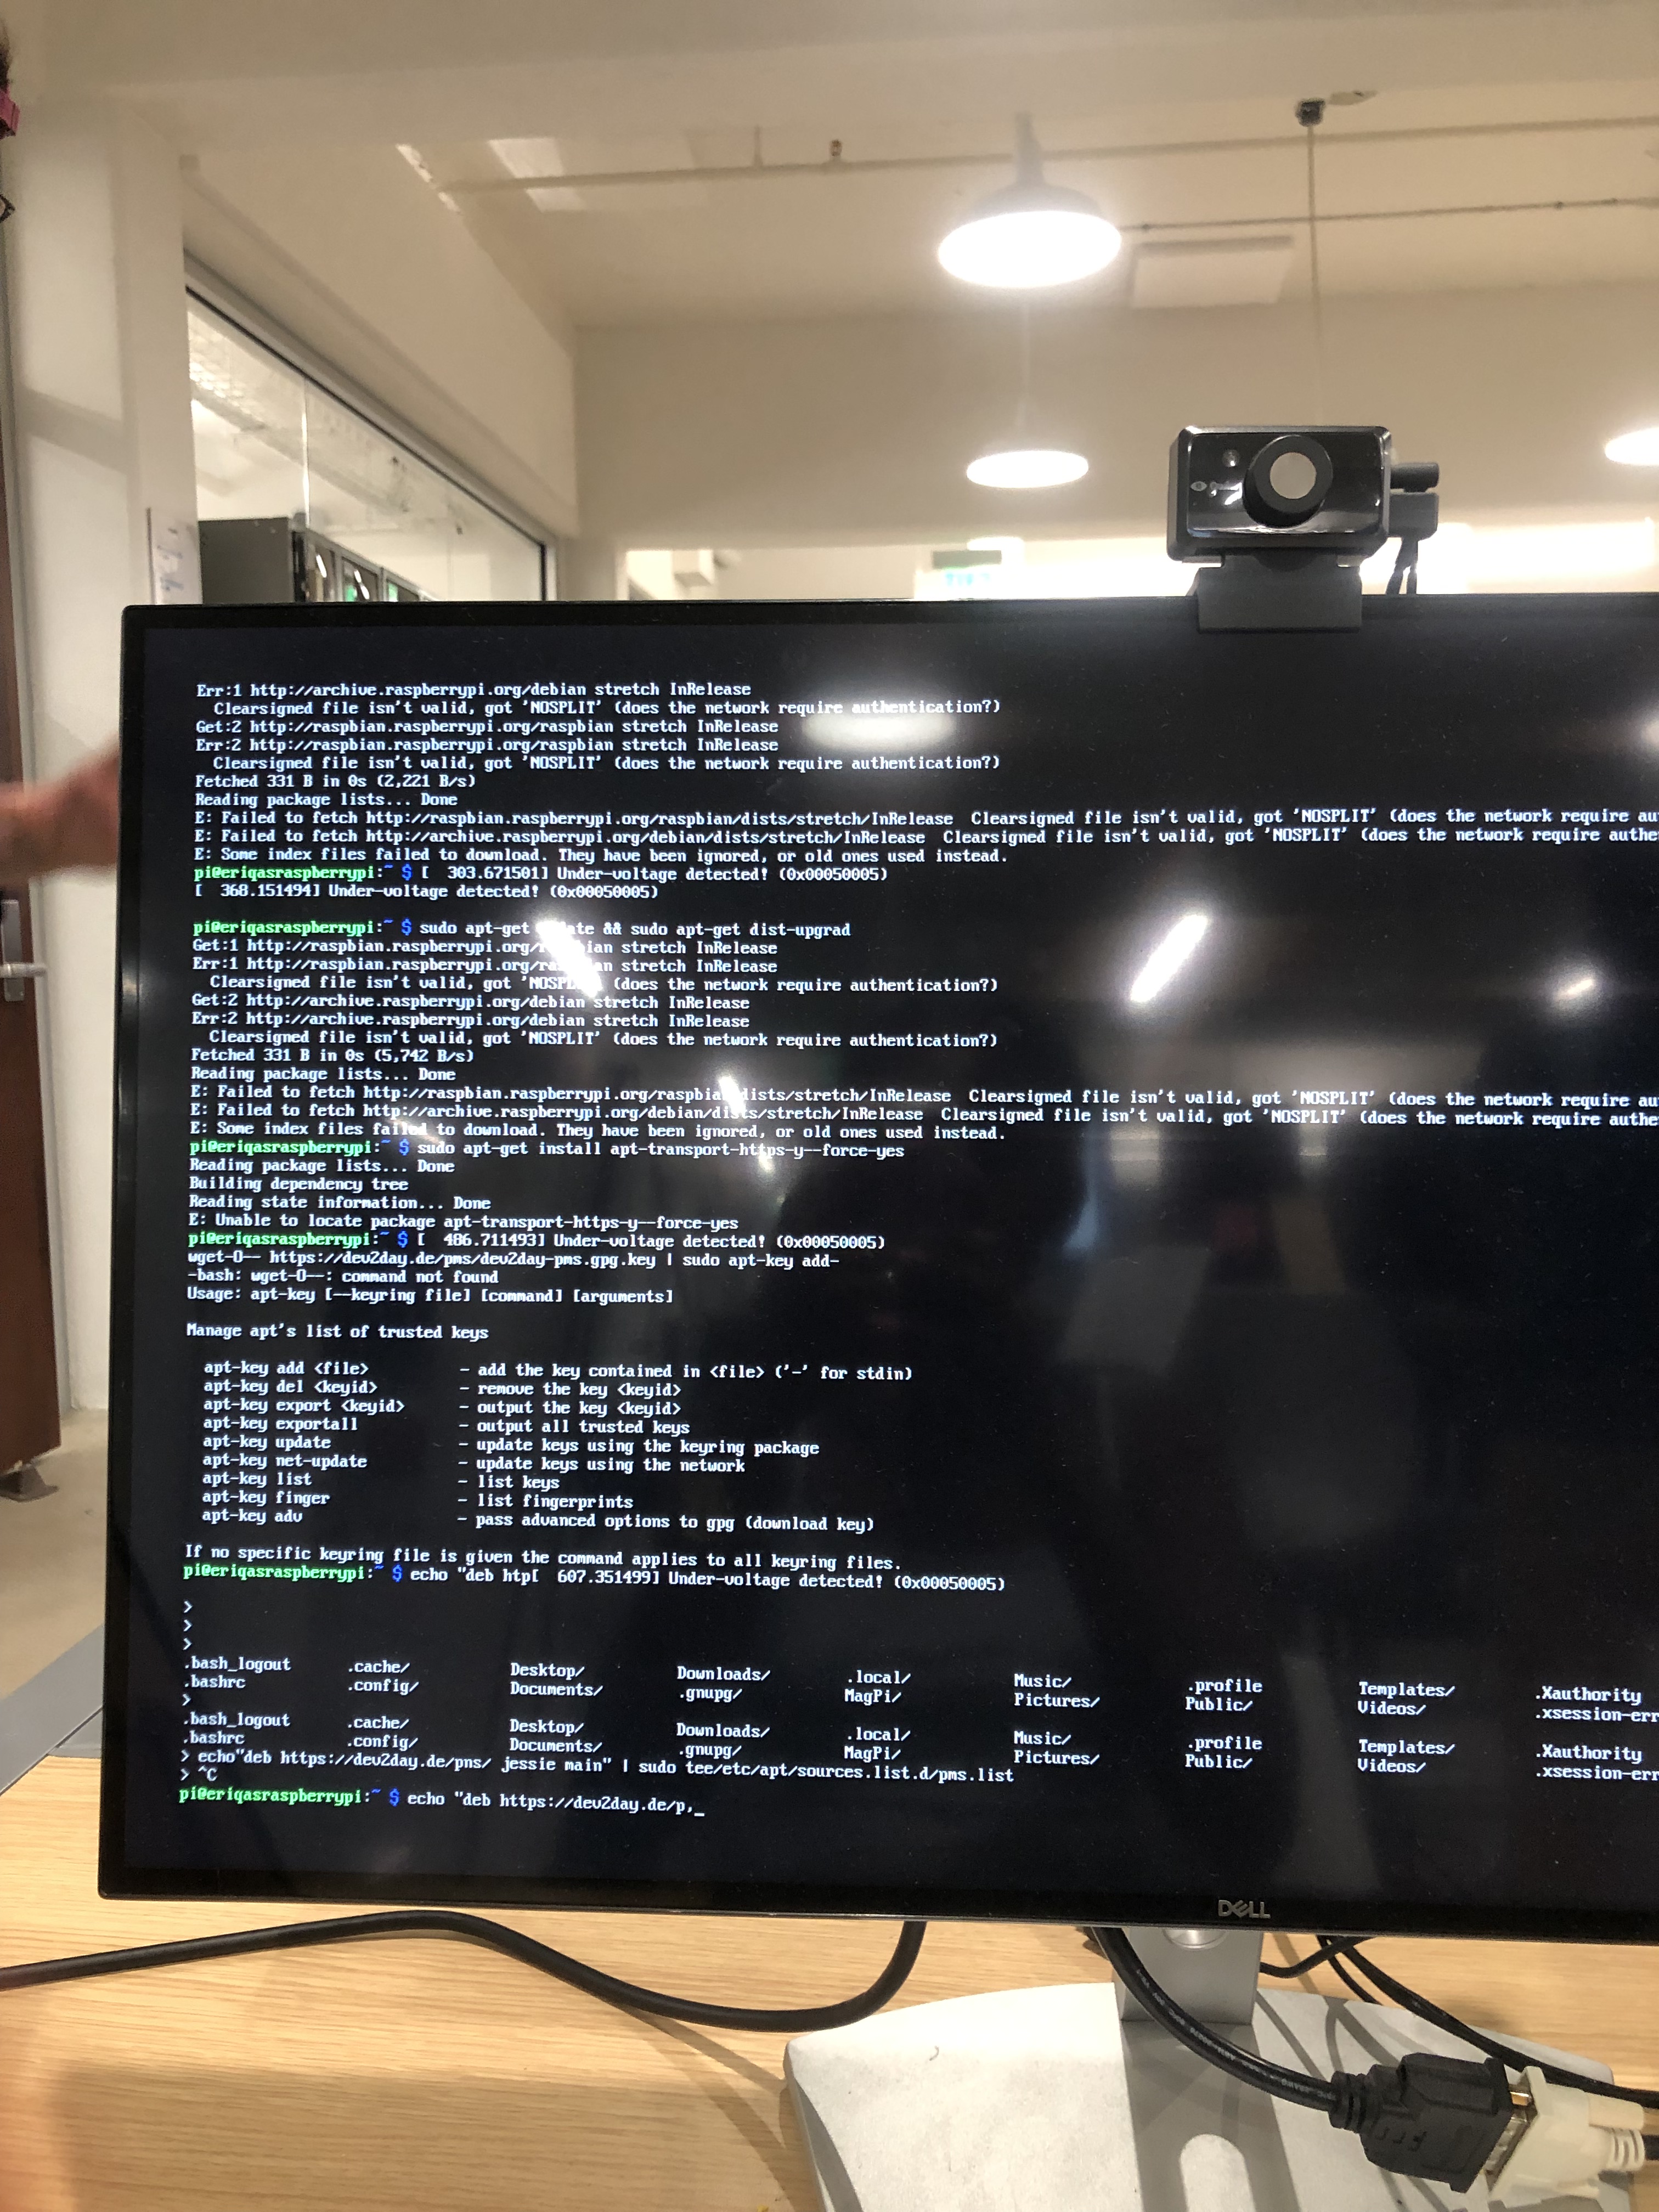
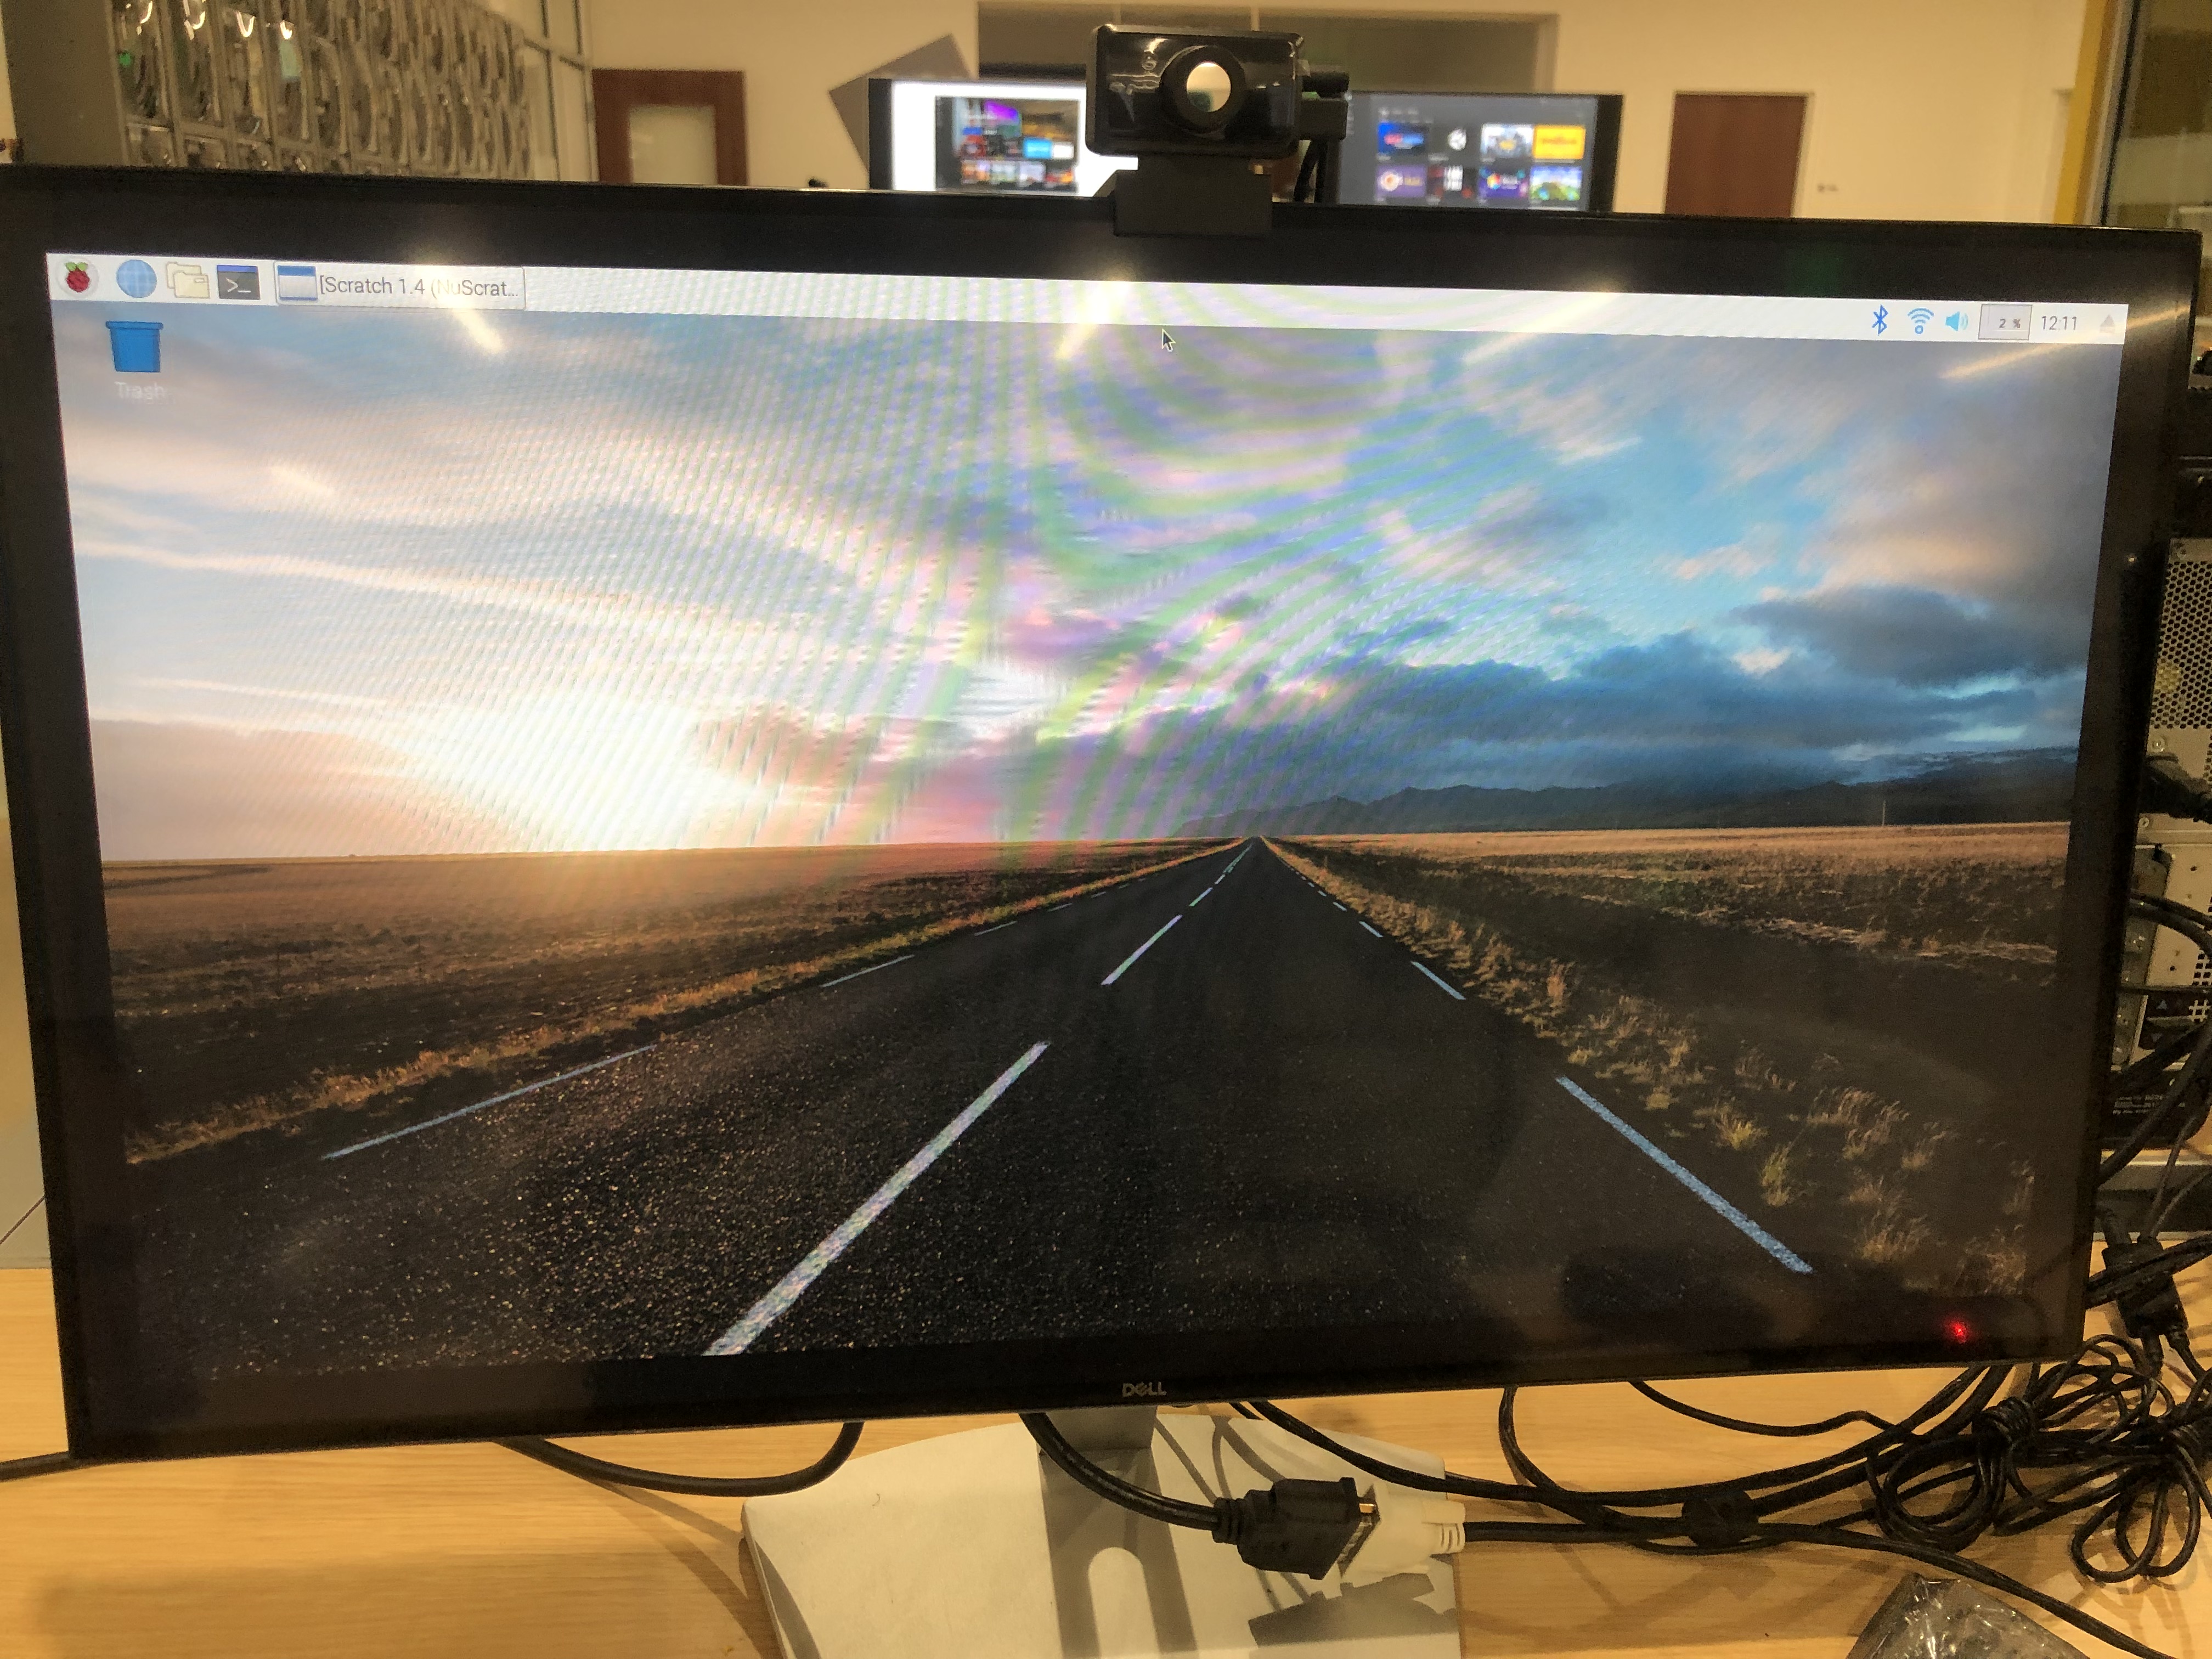
Although I was right about plex being very useful, I was terribly, terribly wrong about it being easy. First of all, I went to the ihub to do this project and i honestly think that Ren felt bad for me because I didn’t even know how to connect it to the monitor. Ren was actually very helpful with the setup process because he gave me the hdmi cord, the charger, keyboard, and mouse ! Once I got the operating system up, I thought I was good to go until I had to start typing commands in the computer. This was very annoying because I got pretty far and then my commands stopped working. I attached pictures of what I attempted below .

3D Printing – Fabricating for a Function part 3 (Journal Entry 13)

3D Printing was great and actually pretty easy. I always have a problem with my large cups fitting in such a small cup holder so this works perfect. I tackled this project by first taking measurements of my cupholder and then taking measurements of one of my large cups that normally don’t fit. I then created the sketch in fusion and used measurements for accuracy. Finally I went to the ihub to use the computers and get some help with adding supports and splicing it. My print took 7hours to make and it came out great on the first try. I am very pleased.

P.S. I attached a video of it working on canvas.

Virtual Reality Project

When I first heard that we were doing a virtual reality project, I was super excited because it sounded really cool but also very nervous because it sounded like it would be very hard. After getting some instruction in class, I felt more comfortable with this assignment and I was ready to get it started.

My partner and I first took on this task by brainstorming some ideas of what we could do. We first thought about doing a scavenger hunt kind of game so we began browsing packages in the asset store to use. While looking for packages, we came across a really cool package called 3D game kit. For some reason, it was taking a really long time to load on the computers in the ihub so my partner and I decided to download it on both of our computers and mess around with it once we got home. It was crazy to see how many folders this package had and its capabilities. It wasn’t too bad to work with and there were several helpful videos on youtube to assist as well.

After playing around with the package and adding new features, we were ready to convert the game on unity so that it was able to be played in virtual reality. We ran into several problems once we hook it up to the VR computer. First our screen was stuck on the loading page and once we got it to work, something was wrong with our view. On the monitor, the game came up fine but in our headset, we could only see the sky. This was very frustrating and we tried to fix it but then we just decided to come up with a plan B which turned out very well and it didn’t give us much problems at all! In canvas, you will be able to see a clip of my partner taking part in this virtual reality experience.

Overall, I had a fun time doing this project and it was really cool to not only build something for VR , but also be able to see what a VR experience feels like for the first time. My partner and I really enjoyed this and this is the link to his blog post: https://s0m37h1n6.home.blog/2019/08/02/virtual-reality-project/

3D Printing – Fabricating for a Function part 2 (Journal Entry 10)

Fabricating for a function was a very interesting task. I first started off by taking measurements of the cup holder in my car. The diameter was 3.15 inches and 2.25 inches deep. This size works great for any standard size cup but it doesn’t work great for my 30 oz regular yeti cup so I needed to come up with a solution. I decided to make a cupholder extension and began this process by searching up current cup holder extensions for measurements. This is what I decided to use:

Top to Bottom – 6.31” 
Top Part Dimension – 3.6” Width, 3.25” Height. (Top Part sits above the cup holder. Drink containers sit in the Top Part.)
Bottom Part Dimension – 2.5” Width, 2.5” Height. (The Bottom Part sits into the cup holder. )

Above is the link I used to get an idea of what I wanted to make. Below is what I created:

3D printing : Something that has to be fixed

I HATE when my cupholder is to small for one of my drinks or objects that I want to put in it. There needs to be a way for me to fit bigger items in such a small cup holder because it’s very annoying having to hold a large cup while driving just to prevent juice from spilling everywhere. I might be able to fix it by making some type of cup holder extension.

The video for my dilemma is attached to canvas.

Fusion 360

Fusion 360 wasn’t as horrible as freecad but definitely not as easy as tinkercad. I was really proud of my cube and beyond proud of my lampshade. When making the lampshade, I ran into several problems and once I overcame those issues, I realized my lampshade was on the wrong axis and I could not possibly put a hole in it while it was oriented that way. After multipule attemps to change the orientation, i had to completly start over ehich was annoying but I came out with a lampshade that I was really proud of. I also struggled making the bowler hat but I think my finished product was decent but I liked it alot more when I added the texture/material to it. Now about the glasses… I am so sorry that you have to look at these but I honestly tried my best. I’ve looked at tutorial after tutorial on youtube but i just couldnt seem to make them like I did on tinkercad 😦 . I really struggled making the legs and don’t even get me started with the nose padas. Here’s what I got :

FreeCad

My experience with freecad was absolutely horrible. To start off, I could not follow along in class and nothing was working out for me. When I finally caught up, my laptop died and there wasn’t an empty outlet for my charger in sight. I decided to try again once I got home and the program continuously shut down and it was really hard to operate without using an external mouse. After 10,000,0000,000,0000 attempts, I ended up buying an external mouse, sat down in a quiet place, and read the directions word for word VERY SLOWLY. I was still having difficulties so I decided to watch the youtube video and this helped lot. I did not have a great time making these shapes and overall it was a headache. Here is what I got:

Ok so let me explain :

I think I did pretty decent on the first one and the second one looks pretty good to me too. For the second one, the object is supposed to hook onto the desk (Yes, I’m in using a chick-fil-a table as my desk because this is where I complete my work) and you can feed any wires through the holes. For the third one, part B (right) is supposed to be able to fit so snug and tightly into part A that it won’t fall out when upside down. I got this idea when thinking of the cupholder in my car. Sometimes, I’ll have a cup that is almost too big for the cup holder but by the grace of God it fits. Although it fits, it’s a little hard to remove from the cup holder because it fits so snug. If you put my two objects in perspective with this scenario, the cup holder is Part A (Left) and the cup would be Part B (right).

Tinkercad

My experience with tinkercad has been very interesting. I was absent the first time we used it because I had food poisoning which really sucked but missing class sucked more because when I came back to class, I was beyond confused as to what was going on. I attempted to follow along with the day 2 demonstration but they were awfully fast and I couldn’t keep up. To make it better, my laptop doesn’t have a mouse so it was hard to rotate my screen constantly. Finally, to put the cherry on top of this experience, my laptop and iPad died and I could no longer even attempt to follow along.I then went home and texted one of my peers to see if he could help because he was there both days and he was lost too. To solve this problem, I just looked up a few of the 3D objects that we needed to draw on YouTube and tried to follow along with a similar tutorial. Once I got the hang of it, it wasn’t that bad after all. Overall, this experience was ok, I didn’t have fun but I also didn’t rip my hair out 🙂

TEAM WORK

My group and I decided to make an app called “fight night” which essentially is a boxing game. Creating this was surprisingly pretty fun and I learned a lot from it. Not only was I able to learn how to create a working game but I also learned how to use adobe Photoshop which was pretty cool (which reminds me that I need to cancel my membership before the 7 day trial is over). My teammates are pretty cool as well, we haven’t had any issues working together which is great. I think were honestly pretty much done and we’re just waiting on critiques at the moment. My group and I decided to make an app called “fight night” which essentially is a boxing game. Creating this was surprisingly pretty fun and I learned a lot from it. Not only was I able to learn how to create a working game but I also learned how to use adobe Photoshop which was pretty cool (which reminds me that I need to cancel my membership before the 7 day trial is over). My teammates are pretty cool as well, we haven’t had any issues working together which is great. We all contributed to the idea of the game and we decided who was doing what by who was good at what. I chose to do photoshop because it sounded pretty easy but it was surprisingly difficult until I got the hang of it. I also did the credits screen which was pretty simple and didn’t require much building on app inventor. My teammates that were good at using app inventor did most of the coding while the others helped contribute to the design. I think we are honestly pretty much done and we’re just waiting on critiques at the moment. So far so good.My group and I decided to make an app called “fight night” which essentially is a boxing game. Creating this was surprisingly pretty fun and I learned a lot from it. Not only was I able to learn how to create a working game but I also learned how to use adobe Photoshop which was pretty cool (which reminds me that I need to cancel my membership before the 7 day trial is over). My teammates are pretty cool as well, we haven’t had any issues working together which is great. I think were honestly pretty much done and we’re just waiting on critiques at the moment.